Welcome to the KR Training December 2017 newsletter! Upcoming classes include Preparedness Level 1 and 2 (Jan 7 and 8), Basic Pistol 1 Jan 13, Basic Pistol 2 Jan 20, and MAG-20 range Jan 27-28.

Check the schedule page on the KR Training website for the full list.
If you aren’t already a subscriber to receive this newsletter each month, you can subscribe here or follow this blog. You can also follow KR Training on Facebook or Twitter for more frequent posts and information.
KR TRAINING BLOG AND FACEBOOK PAGE
In recent classes I’ve mentioned posts I’ve made to the KR Training blog or on the KR Training Facebook page, only to learn that very few in class were aware they existed and had not been following them.
I post something to the KR Training blog every week, usually articles too long to include in the newsletter. I post something to the KR Training Facebook page (and associated Twitter feed) almost every day, usually links to articles I found interesting. The Blog-O-Rama section of the newsletter curates the most interesting of the content from the blog and Facebook page, but if you want to see that information when it’s freshest, subscribe to the blog (there’s a subscribe button on the right hand side) or follow us on Facebook.
UPCOMING MEDIA
John Daub and I were each interviewed for upcoming episodes of Ballistic Radio, to air in early 2018.
I was guest host for 3 upcoming episodes of the Handgun World Podcast. The episodes feature interviews with John Holschen and David Yamane, and a discussion with John Daub about selecting handgun drills for training.
Here’s the link to the podcast, and the associated blog post with info about the drills we discuss.
JANUARY PREPAREDNESS TRAINING WEEKEND
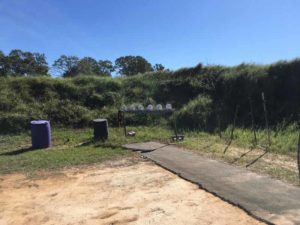
On January 7-8 we are replacing our annual Preparedness Conference with a two-day event at the A-Zone, offering a mix of classroom and range training. It’s broken up into 1/2 day blocks so you can register for whatever part of it interests you.
Just want to shoot? Come for the morning sessions each day. Three hours of drills for pistol and long gun. Just want to be inside learning? There are four different half-day sessions available. Attend any single session for $90, any two sessions for $150, all 4 for $260.
Full details are on Paul Martin’s blog. Here’s the details on Preparedness 1 (Saturday) and Preparedness 2 (Sunday).
BASIC AND CARRY PERMIT CLASSES
For that friend or family member with a new gun, or making a New Year’s Resolution to get some firearms training. Or for you. 50% off refresher slots.
Saturday January 13 – Basic Pistol 1 (9-12), Gun Selection Clinic (1-3), Shooting Skills, Gun Cleaning and Maintenance (3-5).
Sunday January 14 – License To Carry (12-5)
Saturday January 20 – Basic Pistol 2 (9-1), Personal Tactics Skills (2-5)
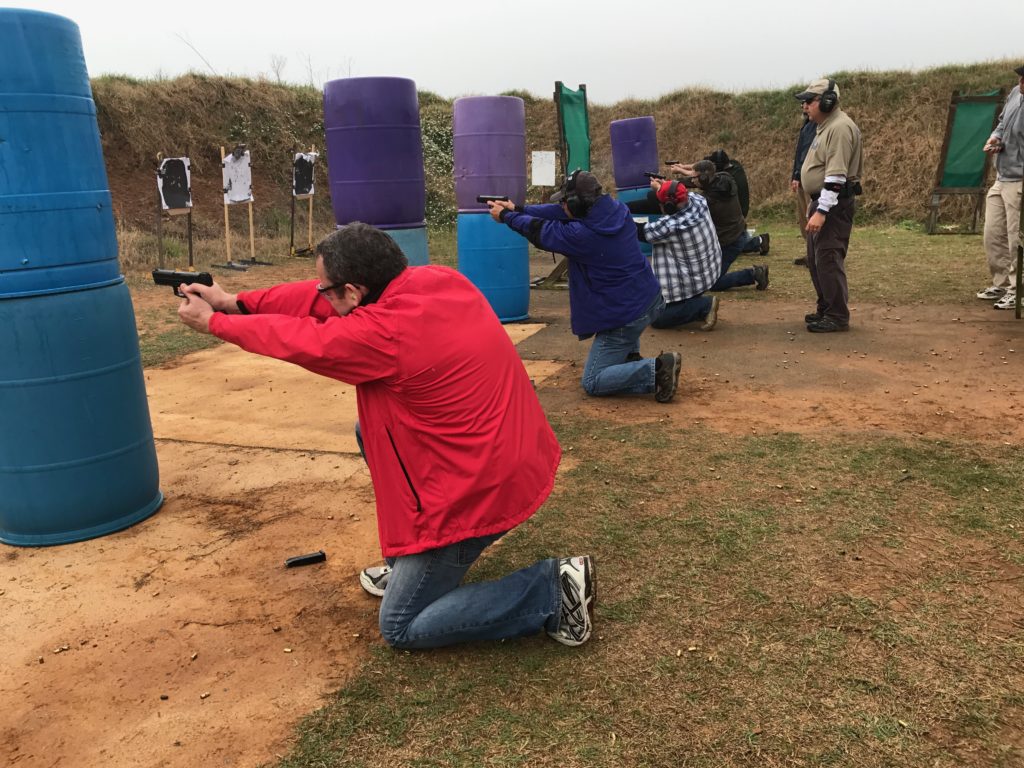
MASSAD AYOOB GROUP – MAG-20 RANGE
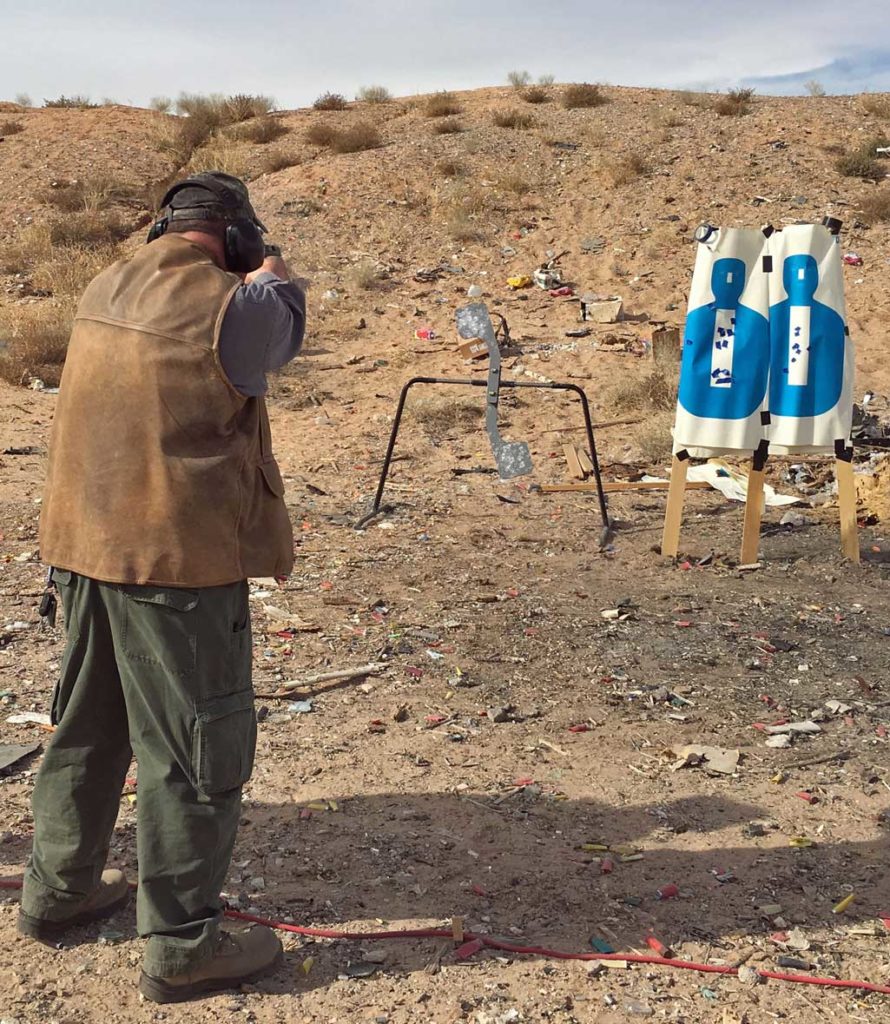
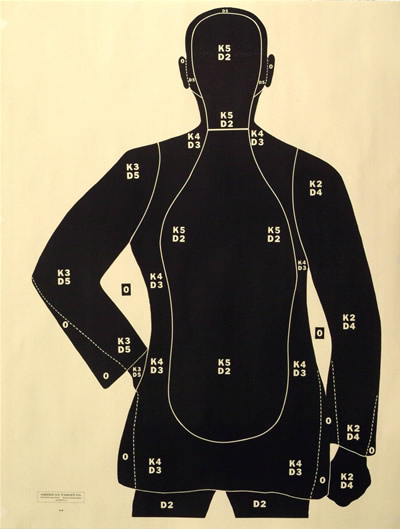
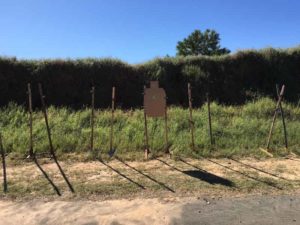
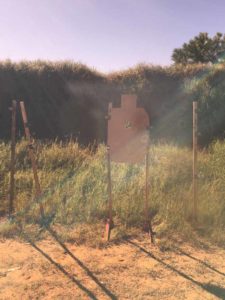
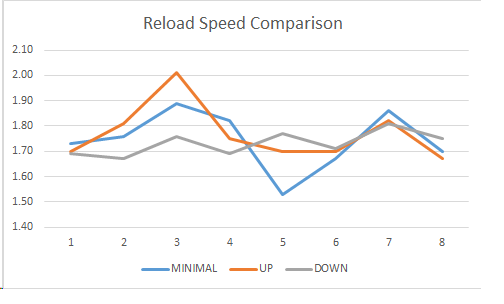
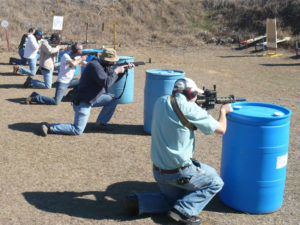
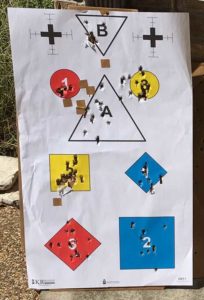
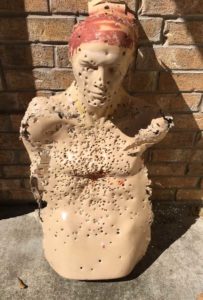
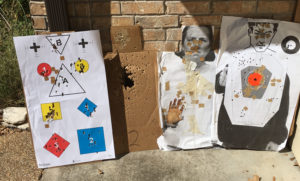
The MAG-20 range class is a two day, 500 round defensive handgun course suitable for anyone at the Basic Pistol 2 level or higher. Draw from concealment, two-handed stances, shooting from cover, one-handed stances with either hand, speed reloading, and more are taught with an overall emphasis on fast, accurate shot placement.
We will be hosting Massad Ayoob in March 2018 for his MAG-80 course. That 40 hour course includes handgun, long gun and weapon retention training. To be eligible to attend the MAG-80, students must have completed both the MAG-20 classroom and MAG-20 range class. We’ve hosted both parts (combined they are known as MAG-40.) Anyone interested in attending MAG-80 in March that only attended the MAG-20 classroom needs to complete the MAG-20 range to meet pre-requisites.
The MAG-20 range in January will be taught by Tracy Becker, who is a MAG-certified instructor and graduate of MAG-30, MAG-40, MAG instructor, MAG-80 and MAG-120.
DEADLY FORCE INSTRUCTOR
KR Training is hosting the only session of the Massad Ayoob Group Deadly Force Instructor class scheduled for 2018, on Jan 30-Feb 4. This 5 day course covers the legal aspects of Deadly Force at a level far beyond what is taught in the DPS License To Carry instructor course, and is highly recommended for any LTC instructor. Armed Citizen Legal Defense Network members and graduates of MAG-40 are eligible for discounts on class tuition. If you plan to attend, please get registered ASAP.
2018 SCHEDULE
We have updated the KR Training schedule with most of the classes we plan to offer in Jan-May 2018. Registration is open in all of them.
FOR SALE
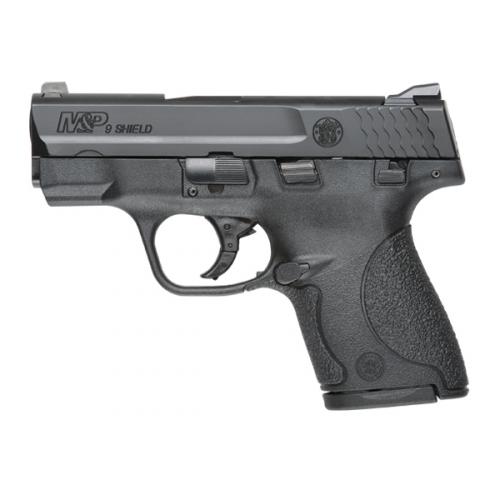
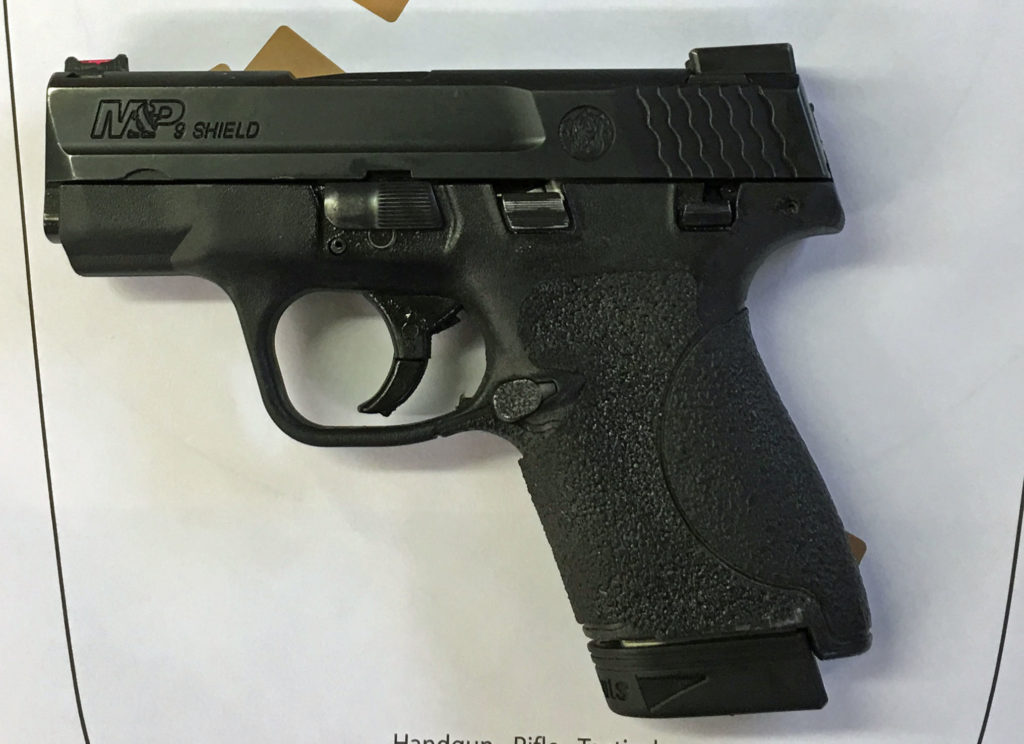
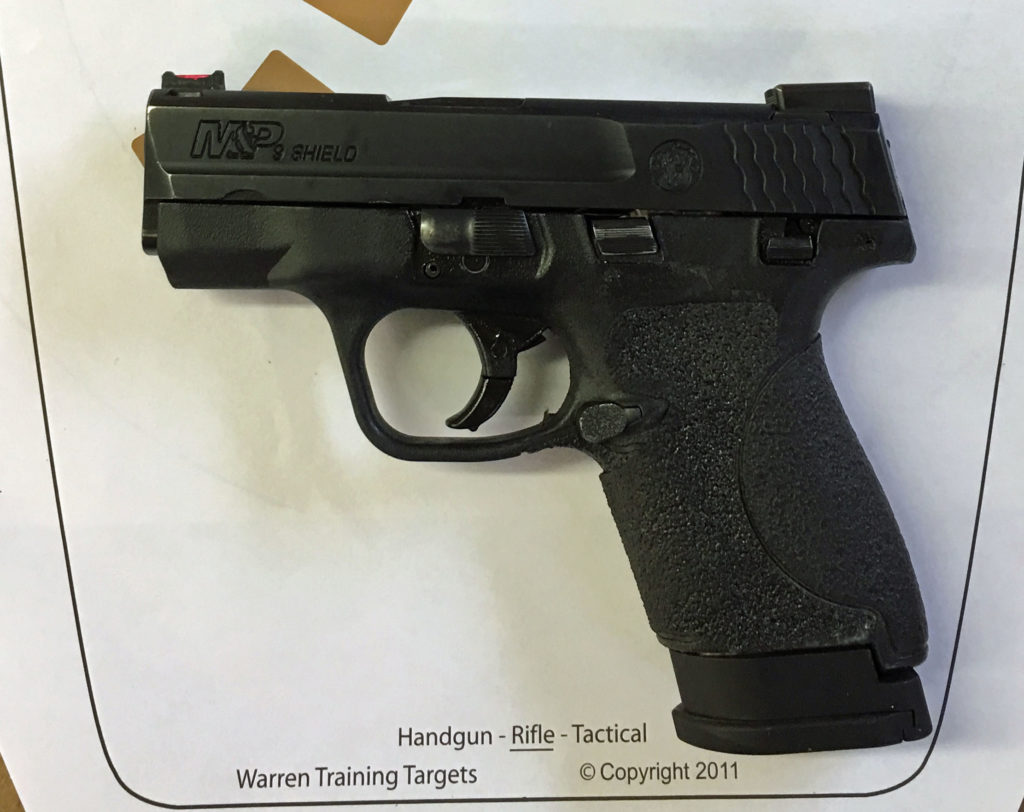
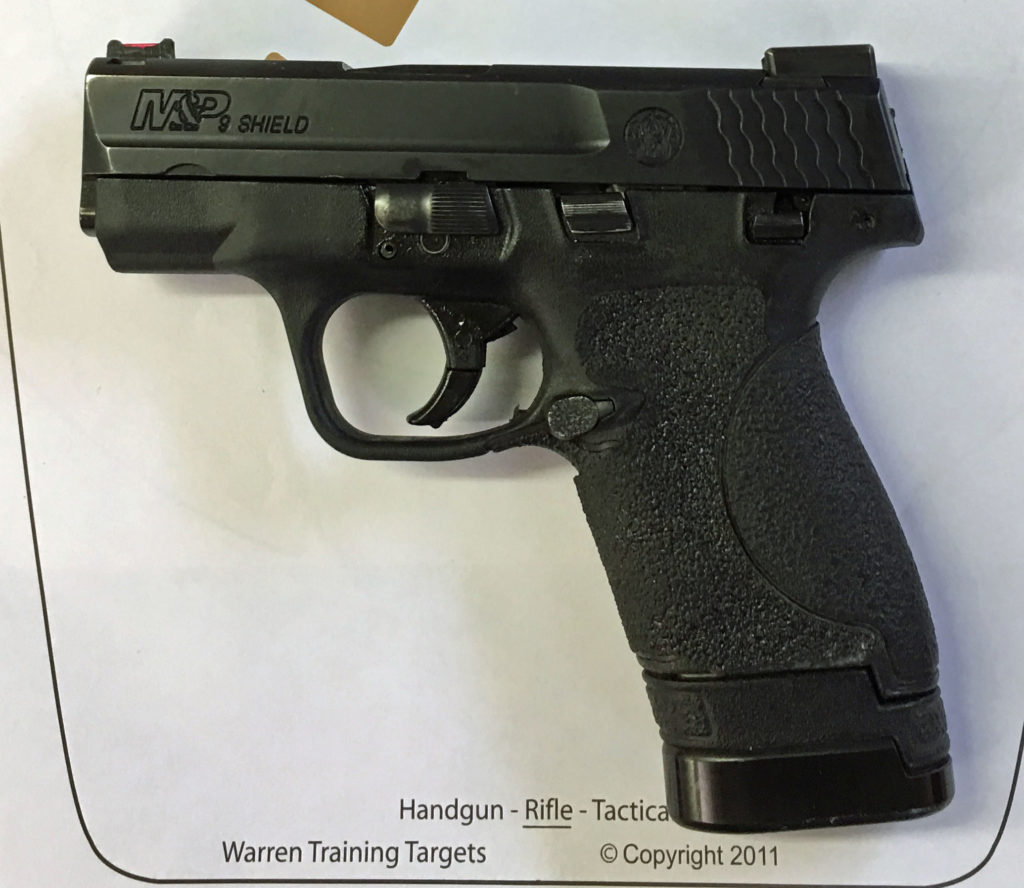
New M&P Shield (1.0 version) 9mm with Dawson sights, Apex trigger. Configured the same as my personal Shield. $420.
Used Springfield 5″ XD with upgraded sights, trigger and slide release, with 5 magazines and holster – $400
Remington 1100 12 gauge shotgun, VangComp upgrade, ghost ring sights, extended mag tube, oversized safety, other internal work – $1000
Used 1911 Airsoft gas blowback pistol w/ 2 mags – $50
Used STI-style Airsoft gas blowback pistol w/ adjustable sights, 2 mags – $75
New V-line Deskmate Locking gun box – $150 (cheaper than Amazon price!)
BLOG-O-RAMA
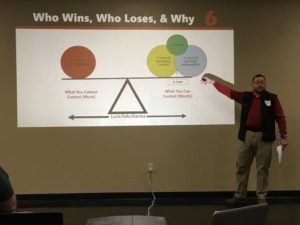
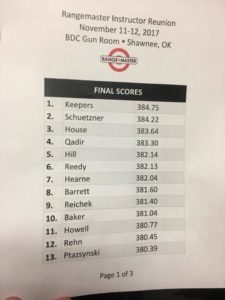
- Rangemaster Instructor Conference AAR (Notes from KR)
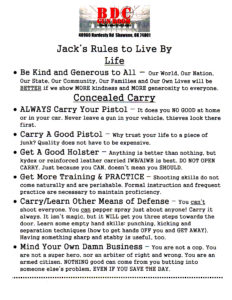
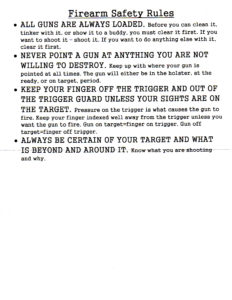
- Jack’s Rules to Live By (Notes from KR)
- Six Reasons You Aren’t Agreeing to More Gun Control (Notes from KR)
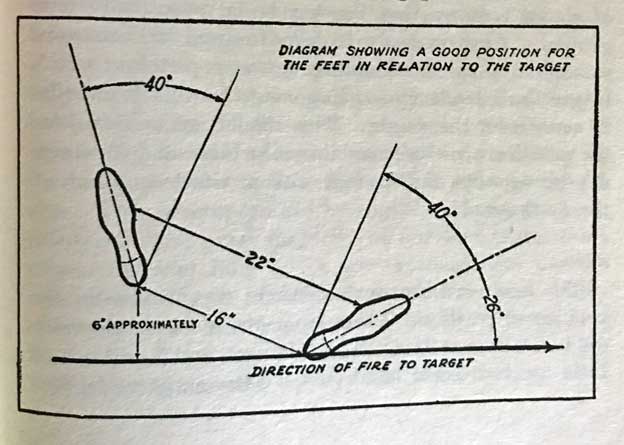
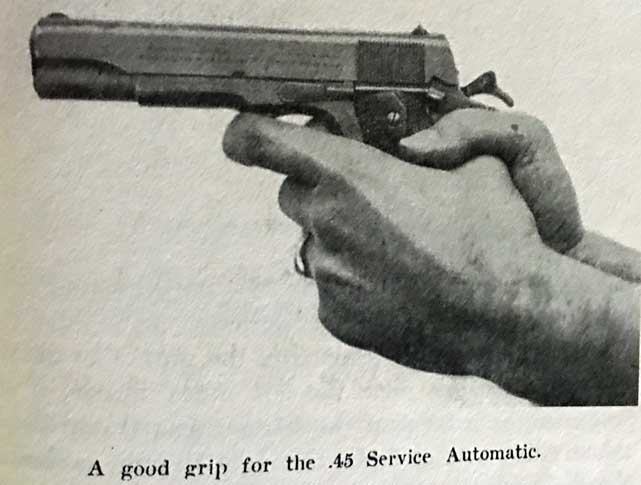
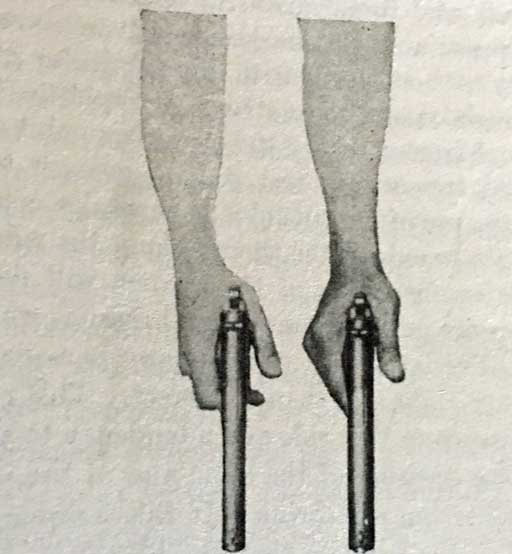
- Pistol and Revolver Shooting – 1930 book review (Notes from KR)
- Rangemaster’s 10 principles of Teaching (Notes from KR)
- More Knowledge from the Rangemaster Conference (Notes from KR)
- Even More Knowledge from the Rangemaster Conference (Notes from KR)
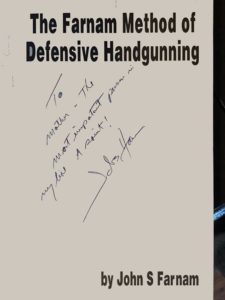
- The 9 round M&P Shield/Farnam class review (Notes from KR)
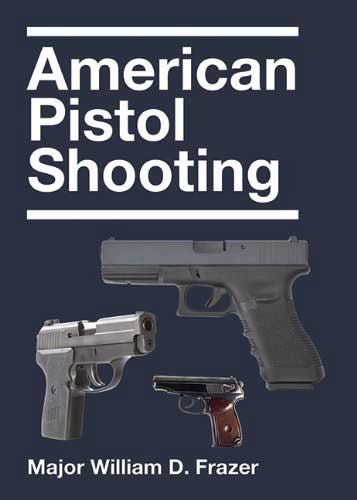
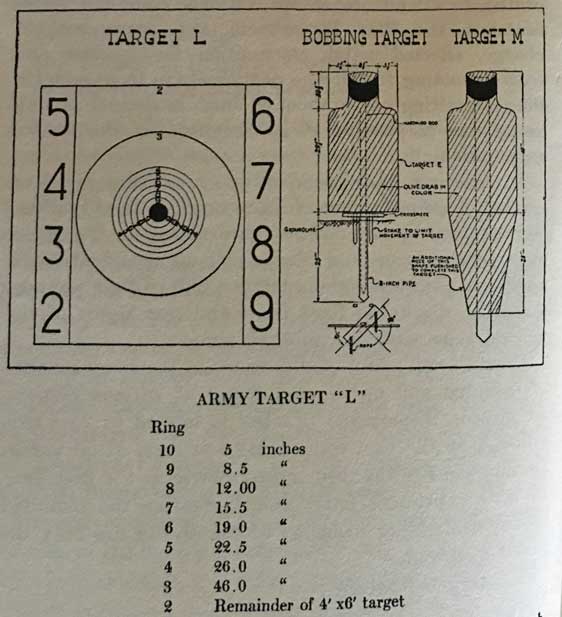
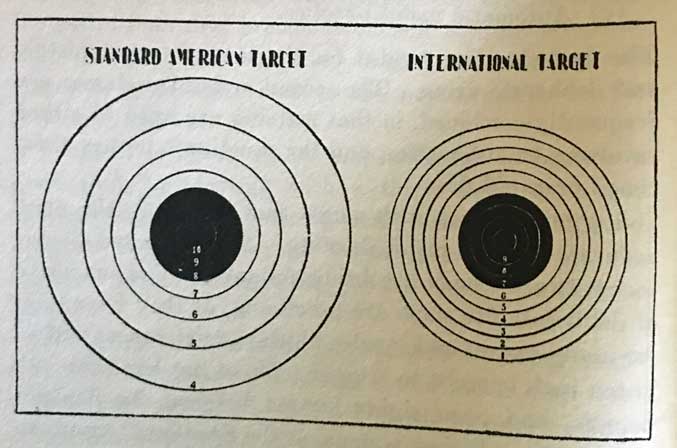
- American Pistol Shooting – 1929 book review (Notes from KR)
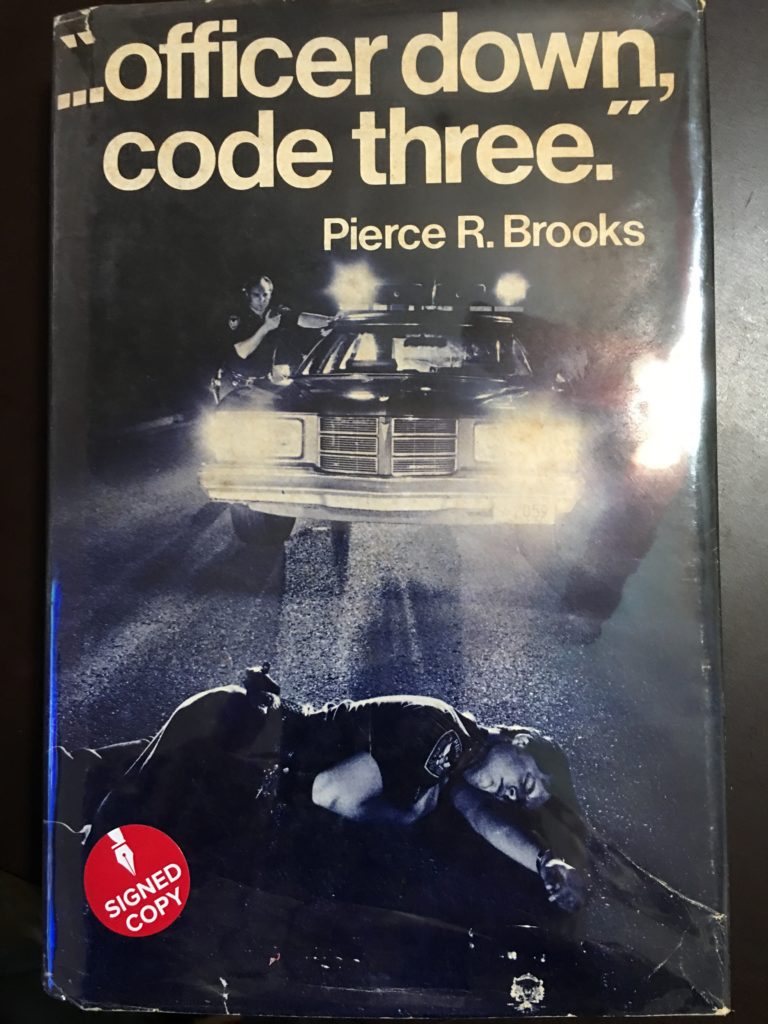
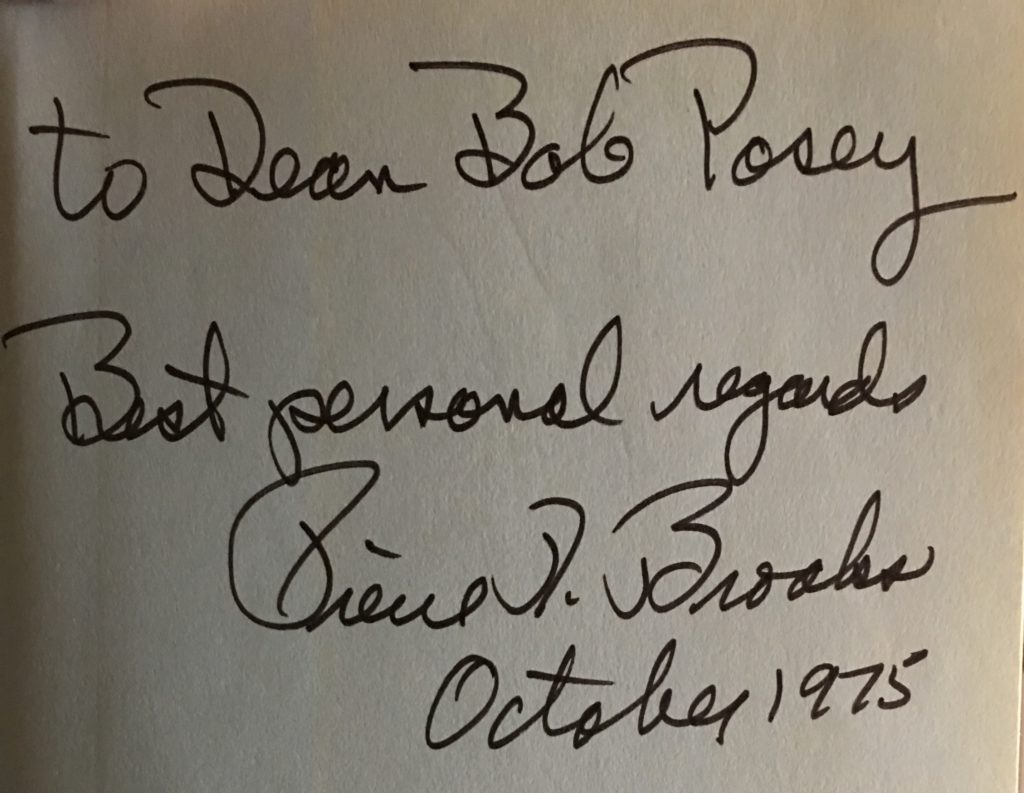
- Officer Down Code Three – 1975 book review (Notes from KR)
- Handgun World Podcast – Top 10 Drills (Notes from KR)
- Holsters are like Shoes (Cornered Cat)
- Marksmanship History (Firearm User Network)
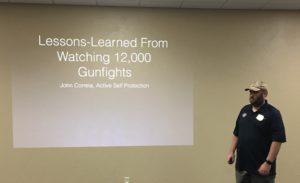
- Lessons Learned from the Egyptian Mosque Attack (Active Response Training)
- Gun Ownership Poll Results – (Ars Technica)
- Police Use of Force Training (Firearm User Network)
- Guns in the Home – Jeff Gonzales (The Truth About Guns)
- 81% of Gun Owners Believe they can win Defensive Gun Use (The Truth About Guns)
- Woman Backs Minority Gun Clubs (BBC)
- Knife Control in China (Twitter)
- Shooting legend Lones Wigger passes away (NY Times)
- More on Lones Wigger (Whipped Cream Difficulties)
- The inequality of urban safety (Axios)
- Texas AG opinion on carrying in churches (TSRA)
HAPPY HOLIDAYS!
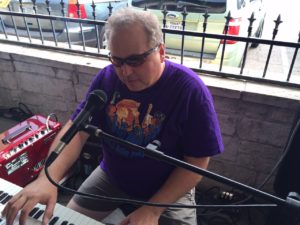
As many of you know, another thing I do is perform music with bands. I just finished up 21 shows at Santa’s Wonderland, a multi-million dollar trail of lights, with shops, food, live music, and many other activities. Here’s are some video samples of our holiday cheer.
The Legacy of Ranching exhibit at the Bush (41) Library, curated by my wife Penny, is still open until January 7th. I assisted with video production and contributed some pulp magazines from my personal collection to a display about Texas ranches in pop culture.
Both the ranching exhibit and Santa’s Wonderland will be open until January 7th. Santa’s is open every day, the Bush Library open every day except Christmas and New Year’s Day.
We look forward to training you!
Karl, Penny and the KR Training team
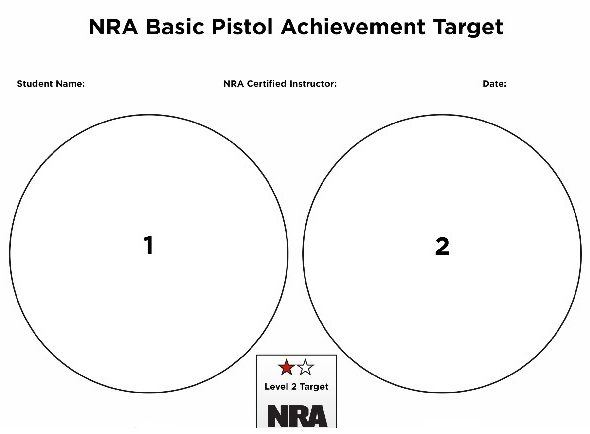
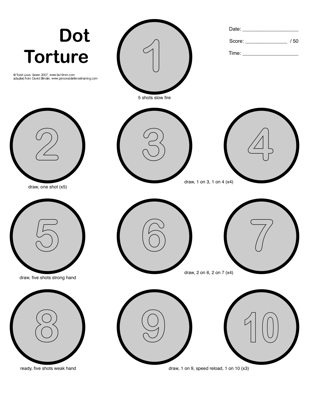
 This adds the skills of bringing the gun from a ready position to the target quickly, and firing the required shots within a time limit, to the basic marksmanship tested by the NRA Basic Pistol qualification.