Welcome to the KR Training September 2018 newsletter!
Check the schedule page on the KR Training website for the full list of upcoming classes.
If you aren’t already a subscriber to receive this newsletter each month, you can subscribe here or follow this blog. You can also follow KR Training on Facebook or Twitter for more frequent posts and information.
OCTOBER-NOVEMBER EVENTS
Basic & LTC Courses
- Handgun Coaching / Texas License to Carry (LTC) course – Oct. 28 (Martin) Take both for $110 and save $20.*
Defensive Skills Program
- Defensive Pistol Skills 2 – Oct. 13, 8 am-12 pm
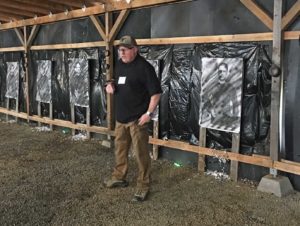
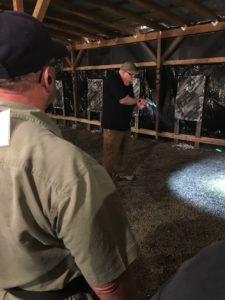
- Low Light Shooting 1 – Oct. 13, 6-9 pm (SOLD OUT)
- Beyond the Basics: Pistol / Skill Builder – Oct. 27 Take both for $120 and save $30.*
Advanced Classes & Guest Instructors
- Rangemaster Combative Pistol 2 – Oct. 6 & 7 (Givens)
- Force on Force Instructor – Oct. 12
- AT-2: Scenarios – Oct. 13, 1 – 5 pm (SOLD OUT)
- AT-7: More Scenarios – Oct. 14, 1 – 5 pm
- Low Light Shooting 2 – Oct. 14, 6 – 9 pm
- Tac Med EDC – Nov 10, 8 am – 5 pm, Caleb Causey (Lone Star Medics)
*Must pay in advance, in full to receive discounted prices for combo registrations.
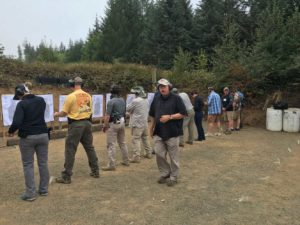
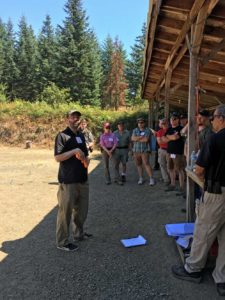
SEPTEMBER SUMMARY
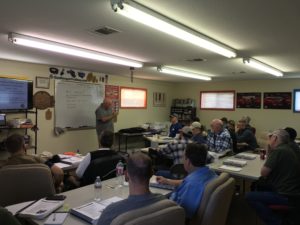
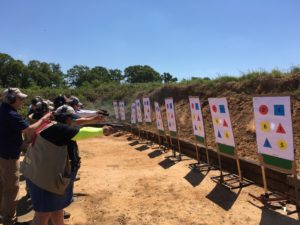
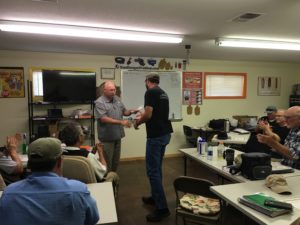
September began with a drive to Ft. Collins, CO and back to be the guest on an upcoming episode of the Outdoor Channel’s Shooting Gallery show, talking about the Historical Handgun course and upcoming book. As soon as I got back, Western author James J. Griffin dropped by for a quick visit. I provide James with technical info about guns and maintain his author website. He writes traditional Western and modern mystery stories about fictional Texas Rangers, and has an exhibit of his Texas Ranger pop culture collection (Western pulp magazines and other items related to the Rangers) on display at the Texas Ranger museum in Waco. Taught 4 classes the one dry weekend we had mid-month, and rescheduled some classes that got rained out. Lots of private lessons, including some for instructor-level students (graduates of NRA, DPS LTC, USCCA and SIG instructor programs), and a special class for a visiting police officer from Argentina. Then I attended 2 days at the Texas Bar’s firearms law course in San Antonio, teaching an evening lecture course at an indoor range in Bulverde, attended the GOA “How to Testify” class held at Texas A&M, and ended the month in Beaumont co-teaching a sold out School Safety/Active Shooter course with Richard Worthey.
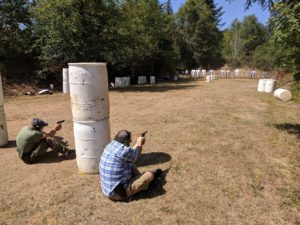
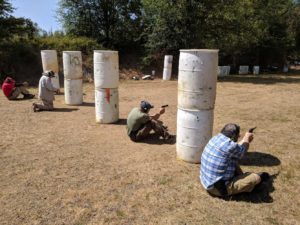
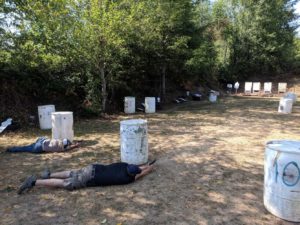
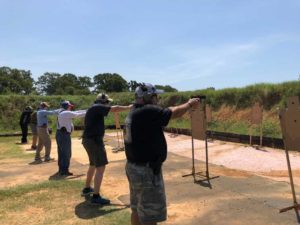
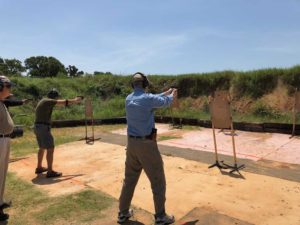
COMBATIVE PISTOL 2 (DYNAMIC PISTOL MARKSMANSHIP) – TOM GIVENS OCT 6-7
Tom Givens has trained over 48,000 students over the past 40 years. 64 of them have been successful in armed incidents, with a hit ratio of over 90% (about triple the typical law enforcement officer hit rate). Tom is returning to KR Training in early October to offer his level 2 Dynamic Pistol Marksmanship course. If you’ve taken DPS-2 or a higher level course with us, you are ready for Tom’s level 2 class. This class is also an excellent defensive pistol course for experienced IDPA / USPSA competitors that have never taken a class focusing on defensive pistol skills. It’s not a “how to draw” course. It’s a “how to win a gunfight” class.
HALF PRICE REFRESHER SLOTS
You can come back for any class you’ve taken before, for half price. Repeating a course is a great way to maintain skills for low cost, particularly if you haven’t practiced the skills you learned in our classes due to time, cost, or range limitations. Retake the class with a different gun, or go as moral support for that friend or family member you finally talked into attending.
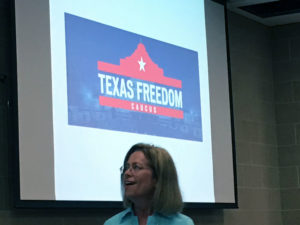
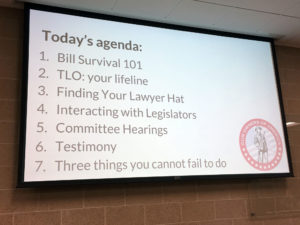
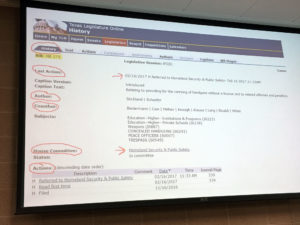
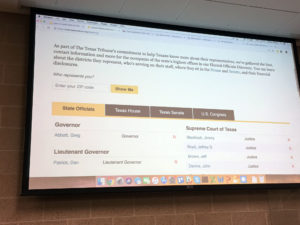
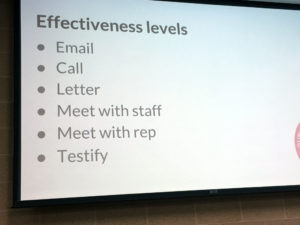
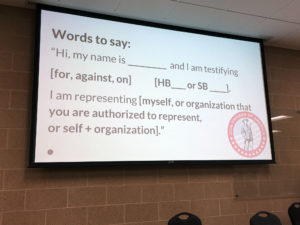
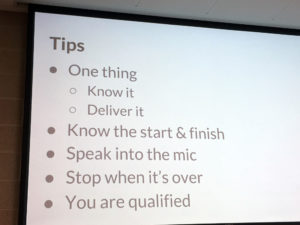
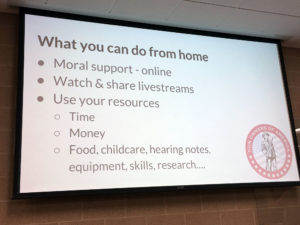
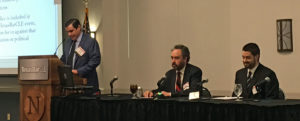
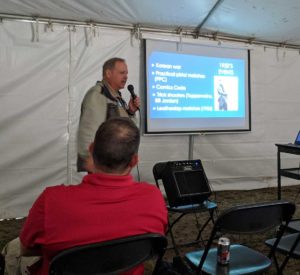
“LEARN TO TESTIFY” SEMINARS FROM GUN OWNERS OF AMERICA
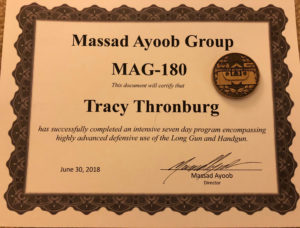
KR Training graduate and Massad Ayoob Group certified instructor Rachel Malone recently became the Texas lobbyist for Gun Owners of America. She’s offering seminars in various locations throughout October on how to be an effective speaker for gun rights at public meetings: town halls, city council, even the state Legislature. Click here to see the schedule and register (no charge) for any of the events.
NOTES FROM KR: RECENT BLOG POSTS
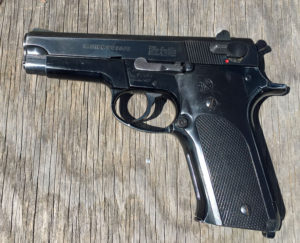
- Historical Handgun – S&W Model 459 – Shooting the 1980’s FBI Qualification Course of Fire
- Shooting Gallery Historical Handgun Episode (VIDEO)
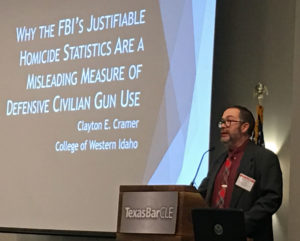
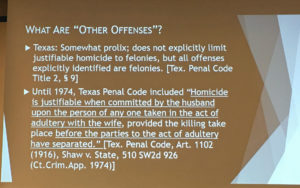
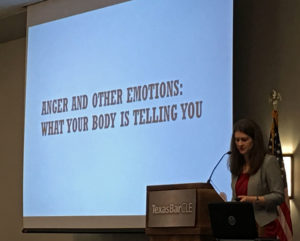
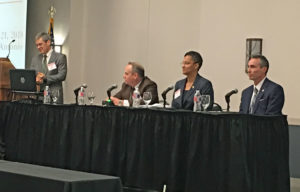
- Texas Bar CLE Firearms Law class AAR part 1
- Texas Bar CLE Firearms Law class AAR part 2
- Gun Owners of America “How to Testify” AAR
Don’t miss future blog posts! Visit our blog site to sign up, and they’ll come straight to your email.
BLOG-O-RAMA
- Throwback Thursday: Point Shooting, Charles Askins for AmericanRifleman.org
- The School Shootings That Weren’t, NPR
- Contextual Handgun: The Armed Parent Guardian, June 24, 2018 (Student AAR), pistol-forum.com
- On the Front Line of Research (Texas A&M researches new bandages for combat injuries), chronicle.com
- Ask the Right Questions to Make Schools Safe, Slow Facts by Rob Morse
- Getting prepared for a hurricane, Hsoi
- Down Range Radio #587: Filming next season of Shooting Gallery, Michael Bane
- Inside the SWAT team that took down the Austin bomber, PoliceOne.com
- Lessons from the Duel at the Dumpster (Part I), Claude Werner, The Tactical Professor
2018-2019 SCHEDULE
The KR Training schedule shows most of the classes we plan to offer through late October 2018 and even a few already scheduled for 2019. Registration is open for everything listed. In November and December we take a break from offering weekend live fire classes due to deer season, but weekday private lessons will be available on a limited basis.
KR TRAINING INSULATED TUMBLERS
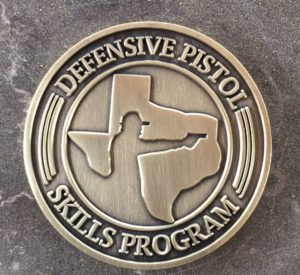
Now available: 20 oz insulated tumblers with the KR Training Defensive Pistol Skills program logo. These will be on sale for $25 at the A-Zone during all October and November classes. DPS program coin holder price is $20.

Thank you for sending your friends and family to train with us. Your referrals keep our classes full and help us continue to offer in-demand classes that specifically address the needs of responsible armed citizens. Remember, now you can train with even more purpose through the KR Training Defensive Pistol Skills Program. Start working to earn your coin now.
We look forward to training you!
Karl, Penny and the KR Training team